Pimped Out Knee Scooter

As much “fun” as crutches can be, I looked into alternative mobility aids before my surgery. I came across a crutch that basically made you walk like a pirate with a peg leg (although pirates don’t have their lower leg on a platform behind them when using said peg leg). I knew for sure that I wasn’t going to use that, so I looked into a knee scooter. It’s this nifty thing that has a padded cushion you rest your lower leg and knee on, four wheels, and handlebars. I like to call it my alternative bike because I can’t live without my wheels.

Here’s what the knee scooter looked like before I added my personality to it.

There were a lot of different options, but I just got the cheapest one with good reviews. It ended up costing around $100, but it’s paid for itself a couple times over in the sheer convenience and safety it’s given me. I can cook with both of my hands, I can go out in the snowy Michigan weather without worrying so much about slipping, and I can carry most things pretty well with it. I use this downstairs, but I still have my crutches for upstairs (because there’s no way I could even try to drag the scooter up and down a flight of stairs).

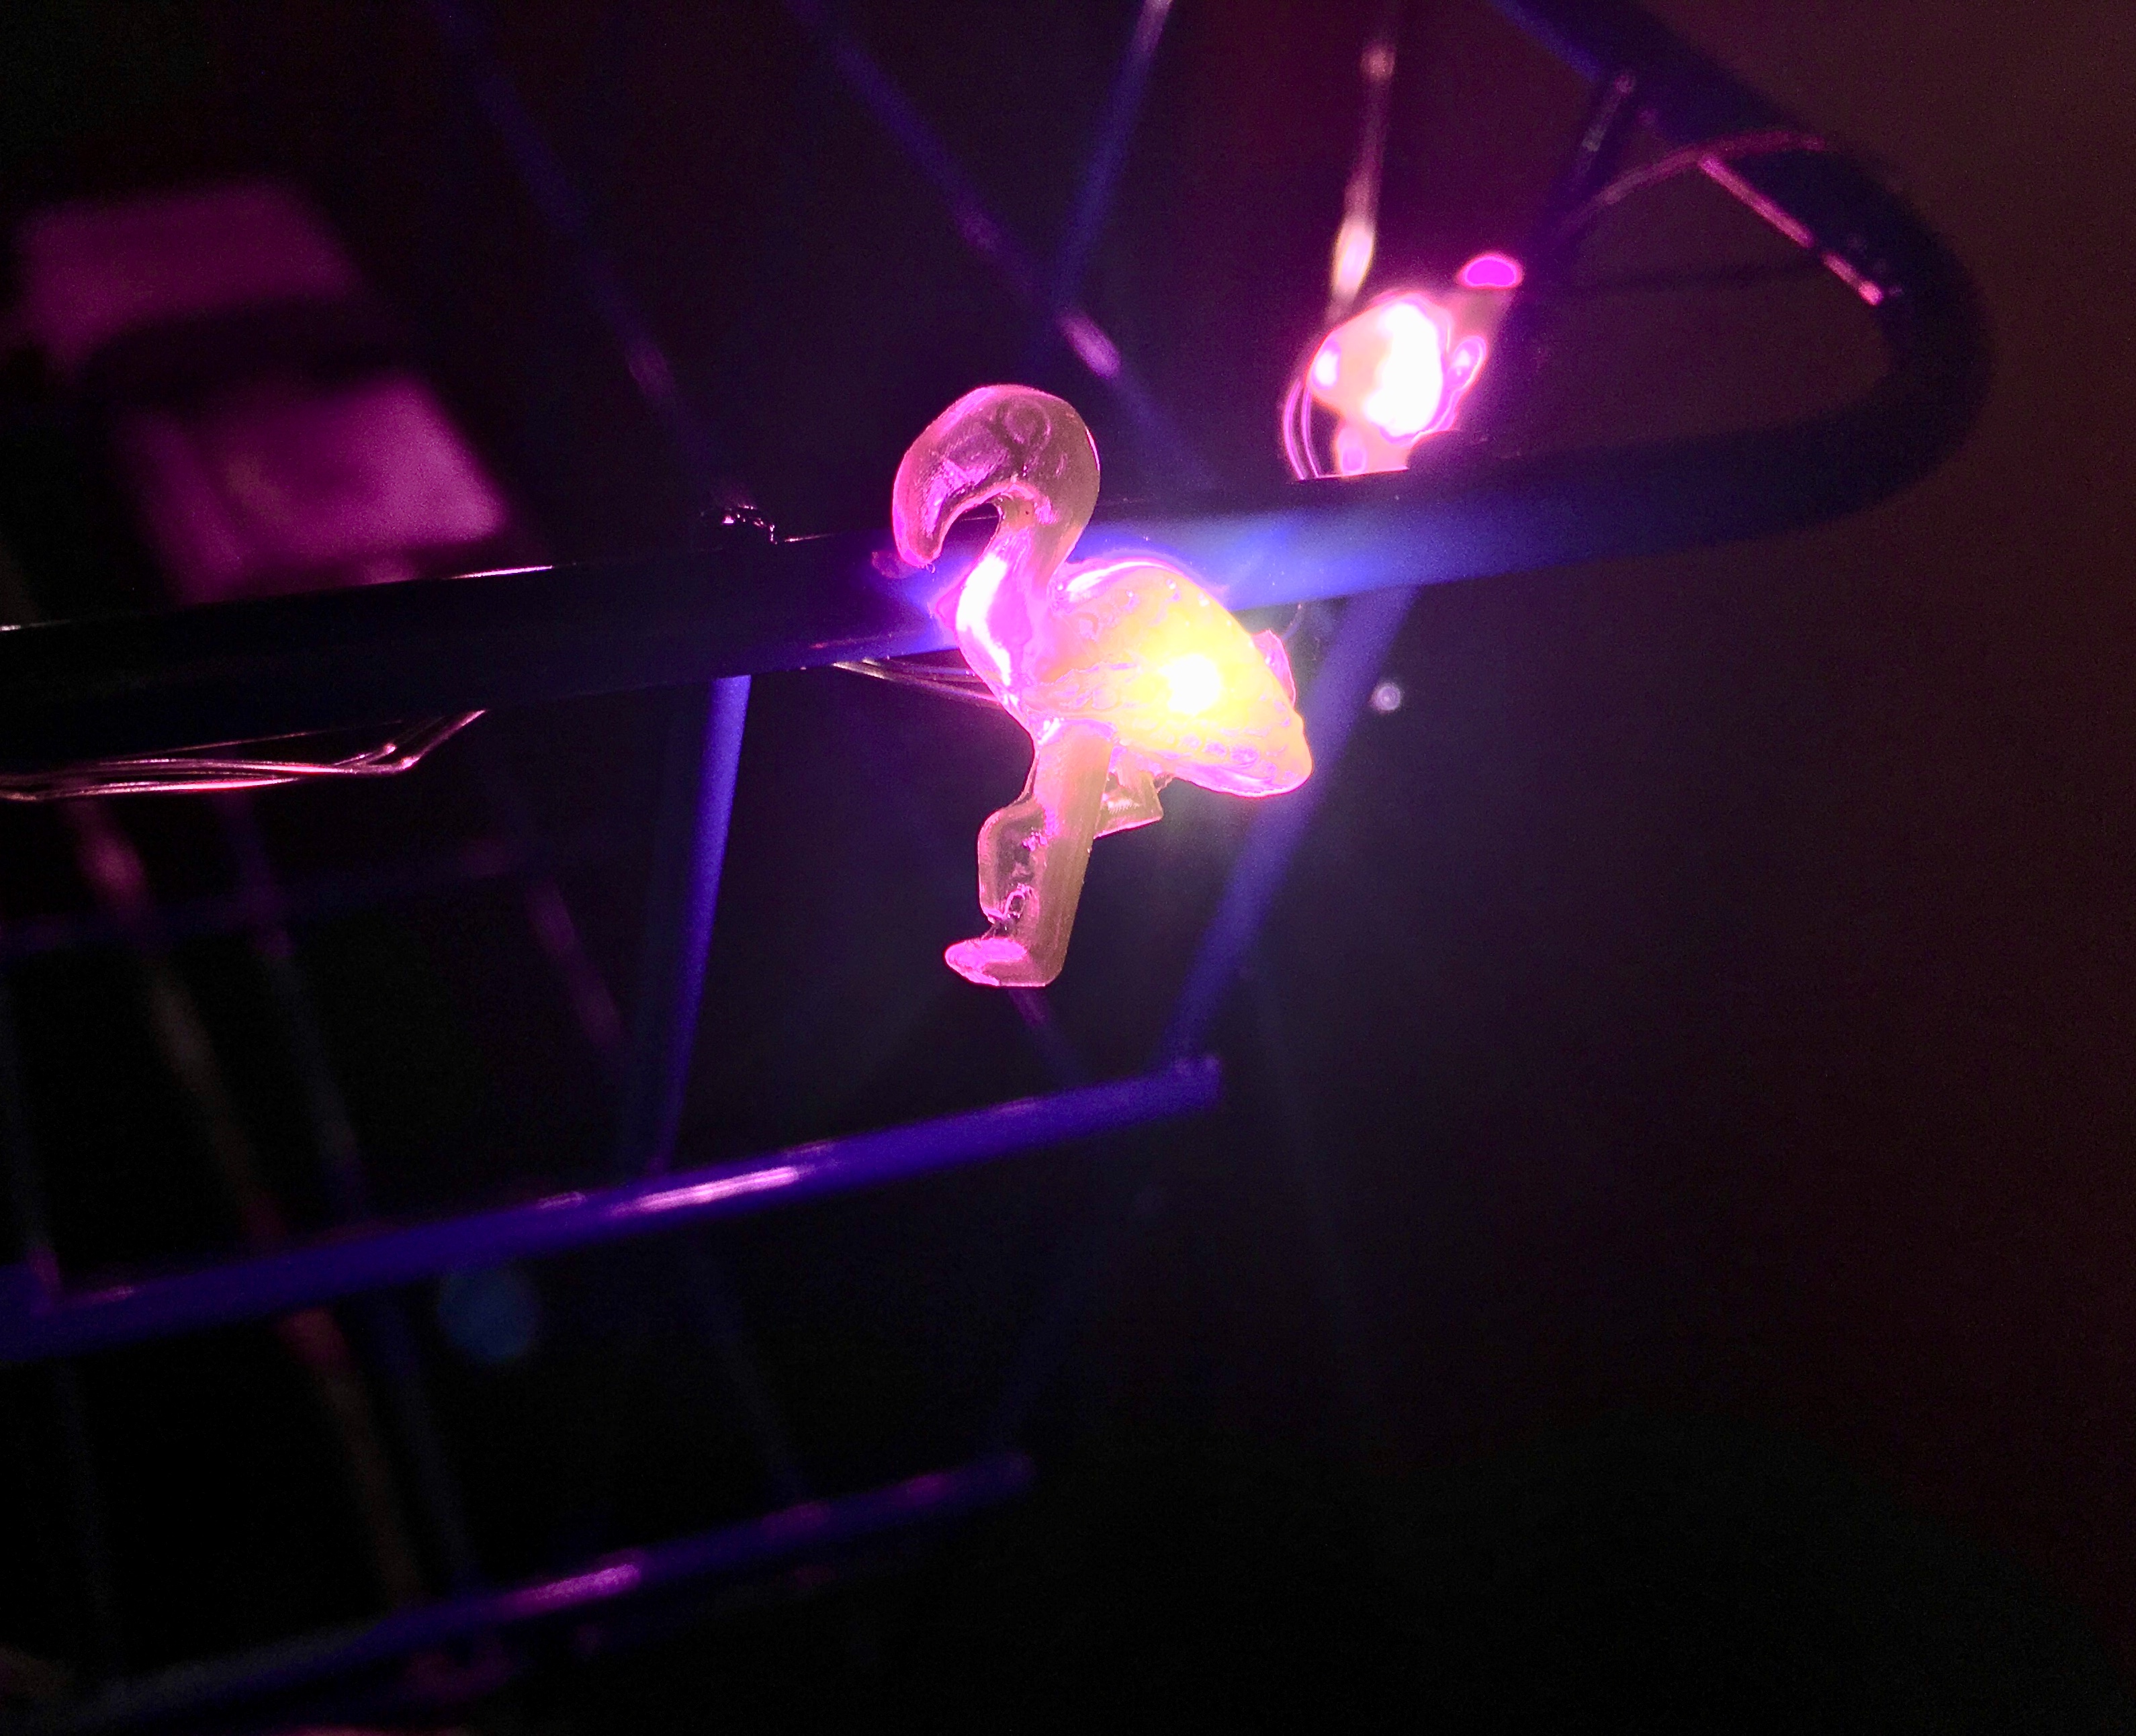
As you guys all know by now, I can’t just leave anything plain. I needed to add a personal touch to it. The first thing I did was go to the dollar store and buy a basket to attach to the front so I could carry things more easily. I attached it with Velcro strips that most people use to wrap excess lengths of cording. I also picked up a string of flamingo lights from the same dollar store to wrap around the basket.

For the finishing touches, I used colored duct tape and ribbon to wrap the frame. It’s pretty obnoxious-looking, but I definitely stand out. I get compliments on it when I go out shopping; it’s certainly a conversation starter! My favorite line so far has been, “Roll on, sista’. You got dis!”, said to me by someone I had never met before, but we stopped and talked a while and he wished me a good recovery when we parted ways.

The ribbon has since fallen off the seat due to use, but everything else is holding up great!

This is easily the best purchase I’ve made for my surgery, although the shower stool I bought was a close second. It’s all about making things as easy as they can be.

Fanciful Crutches

I decided from the day I knew I was going to have surgery, I was going to have to think of some ways to make a not-so-fun situation a little brighter. I was looking up tips on how to survive crutches, and a lot of the articles suggested buying some padded crutch covers to help ease the discomfort. I looked into them and they were $30! I know that may not sound like much to a lot of you, but with the huge expense of surgery, I had to keep a tight budget. No way was I going to pay that much for something I could easily make myself. I scavenged in my drawer of fabric scraps for some materials for this project. It turned out that I only lacked the foam. I promptly went over to Jo-Ann Fabric, armed with a 50% off coupon, and searched around for some foam. I found a nice package that looked like it should suit my needs, and it only ended up costing me $3.50. The Great Crutch Cover Project cost me just under 12% of what buying a pair would have.

Next, I borrowed a pair of crutches from someone so I could figure out what size to cut my fabric. I didn’t measure anything, so I can’t really give you step-by-step instructions. I laid the crutches on the fabric, marked the fabric at the widest point on each side, and added two inches, an extra inch of room for the foam and an extra inch for a half inch seam allowance. I eyeballed what looked like a good amount of space for the arm parts to come down. I then just folded the fabric in half with the right sides on the inside and sewed up the side seams and hemmed the bottom opening before attaching a couple of lengths of ribbon to tie them on.

I wrapped the arm pads and the hand pads in foam and secured it with everyone’s favorite all-purpose solution: duct tape. To made the hand pad covers, I popped the hand piece out of the crutches and laid it on the fabric, using the same crude measuring method.

Covers finished, I thought to myself, Why stop there? I also decided I needed to have a bag attached to my crutches to carry around small items, like a thin paperback novel or a water bottle. How did I do this? Yep, you guessed it: I eyeballed it again. I laid an average-looking book out on some fabric for the fronts and back, and cut the sides and bottoms the same length, but made them about an inch wide. I attached ribbons to hold it onto the crutches.

Voila! There you have fanciful crutches that are sure to gain you compliments everywhere you go!