Fanciful Crutches

I decided from the day I knew I was going to have surgery, I was going to have to think of some ways to make a not-so-fun situation a little brighter. I was looking up tips on how to survive crutches, and a lot of the articles suggested buying some padded crutch covers to help ease the discomfort. I looked into them and they were $30! I know that may not sound like much to a lot of you, but with the huge expense of surgery, I had to keep a tight budget. No way was I going to pay that much for something I could easily make myself. I scavenged in my drawer of fabric scraps for some materials for this project. It turned out that I only lacked the foam. I promptly went over to Jo-Ann Fabric, armed with a 50% off coupon, and searched around for some foam. I found a nice package that looked like it should suit my needs, and it only ended up costing me $3.50. The Great Crutch Cover Project cost me just under 12% of what buying a pair would have.

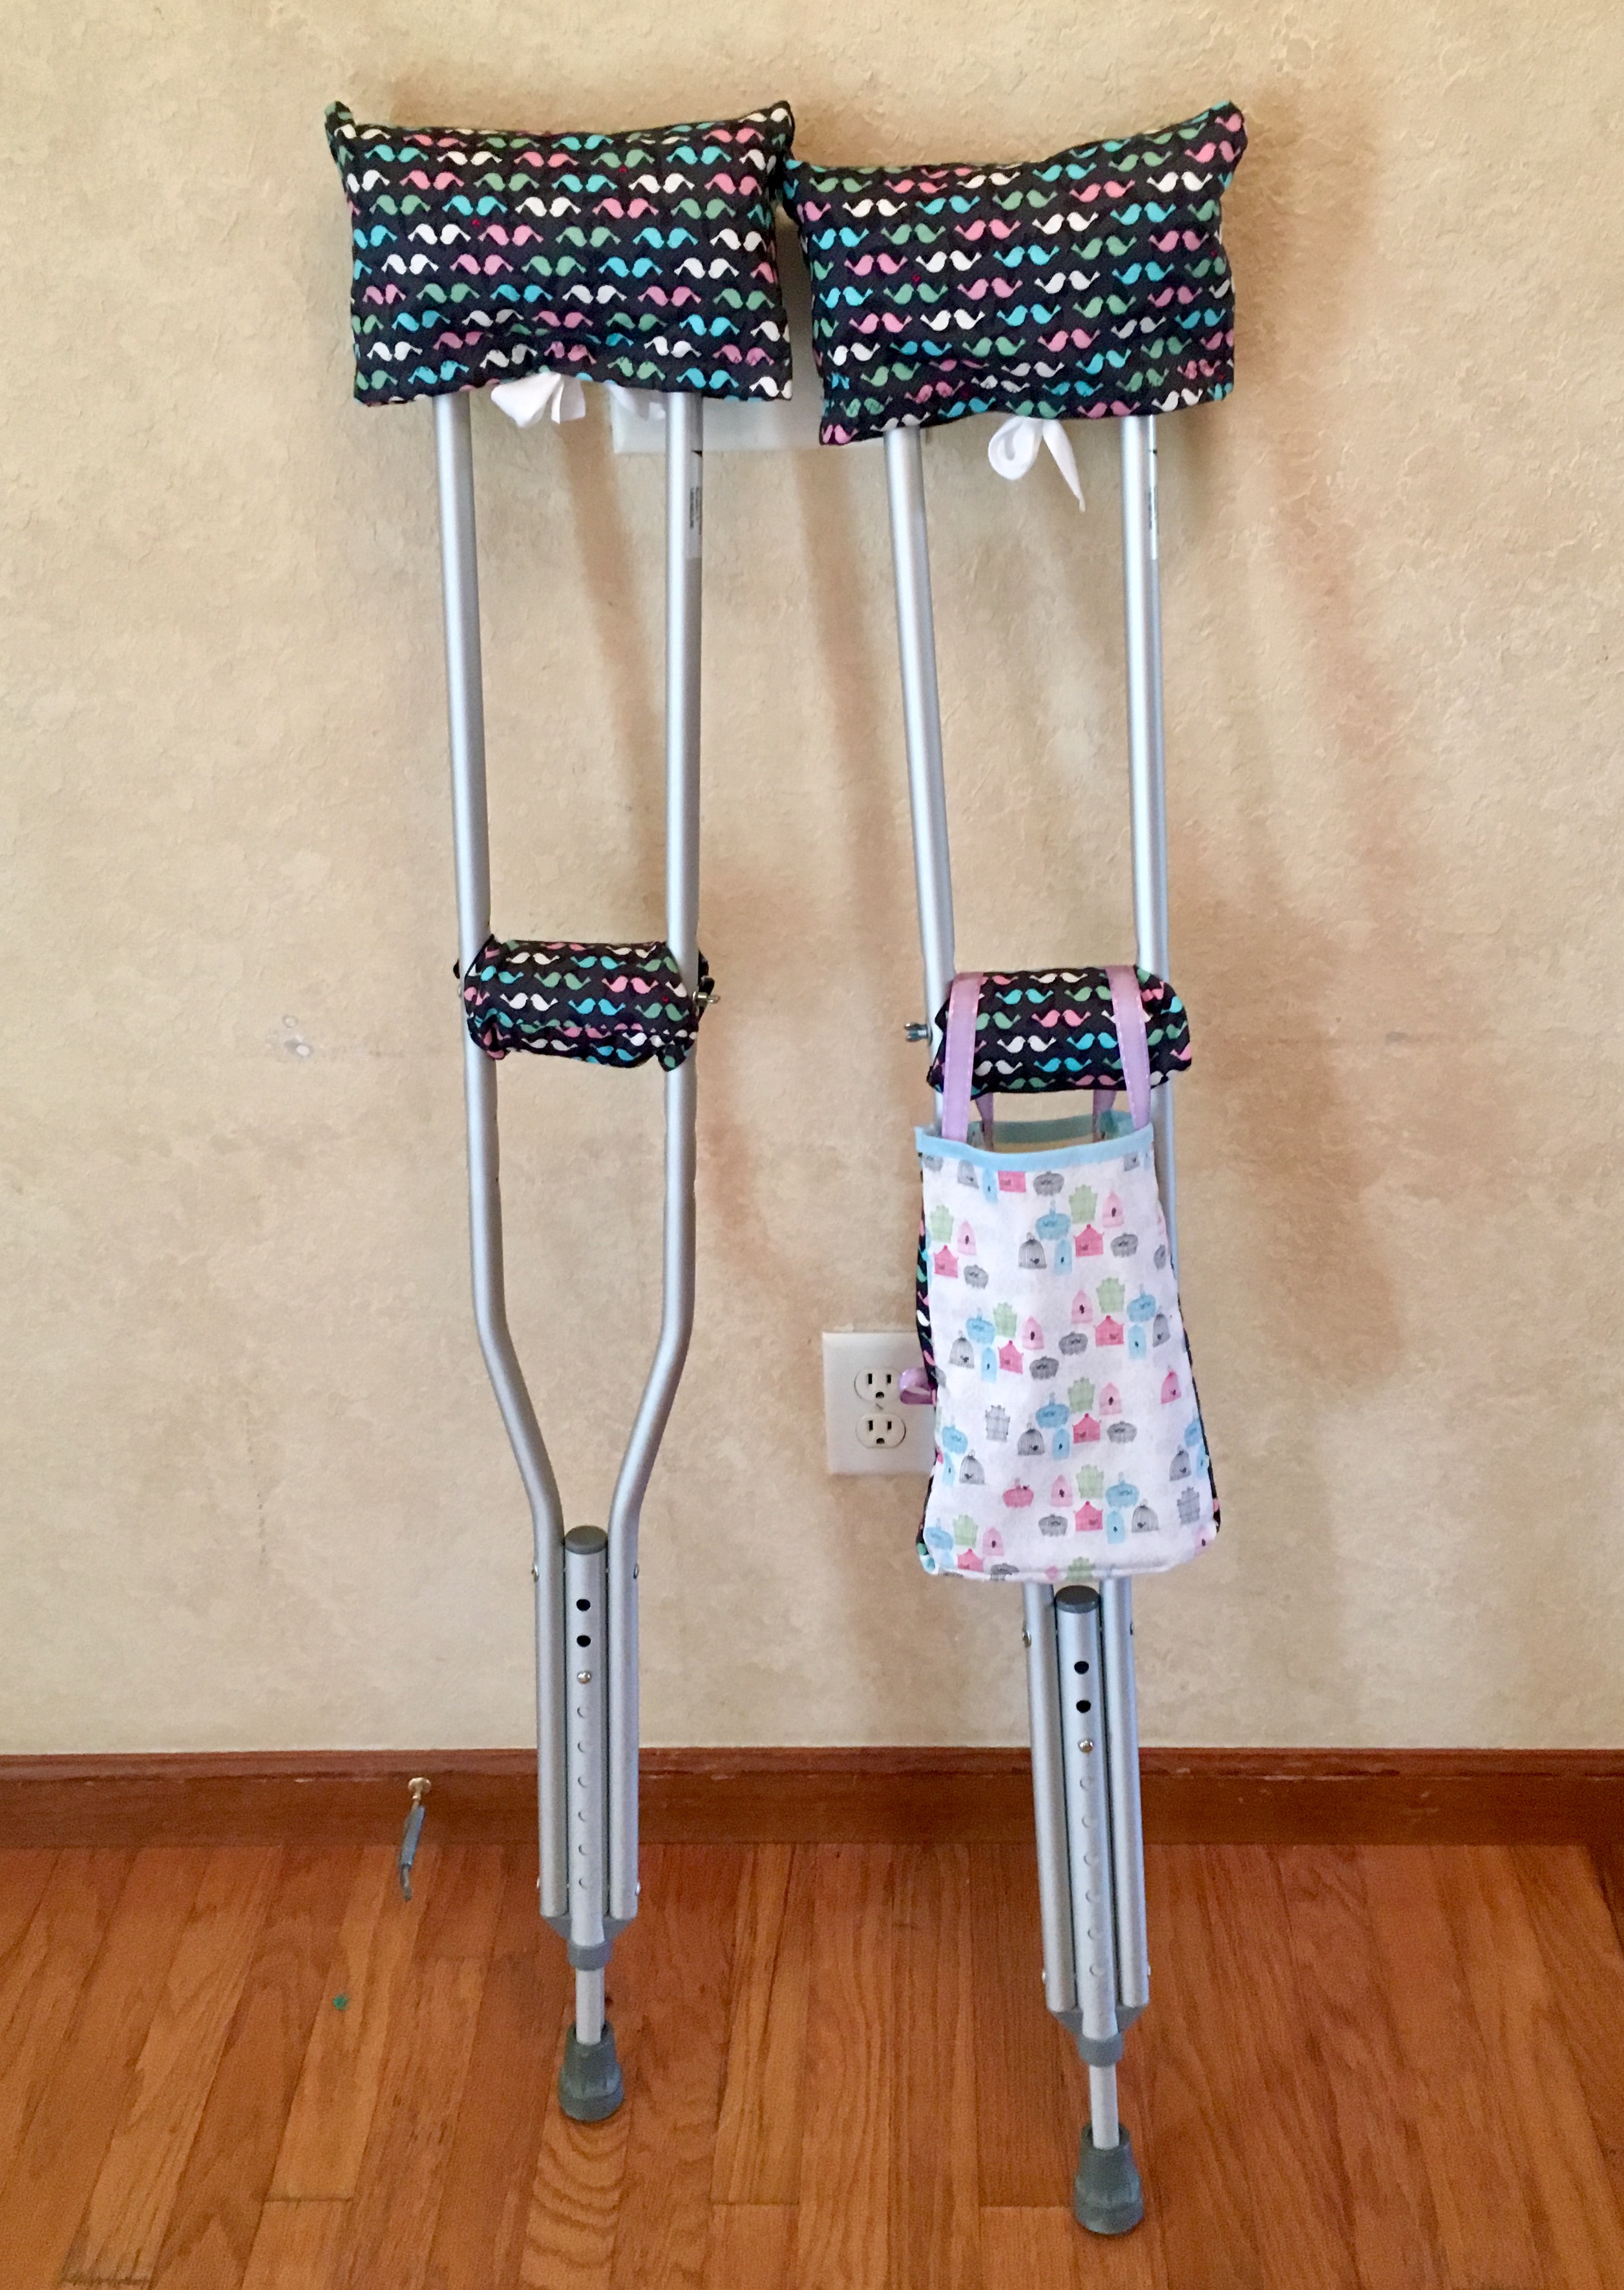
Next, I borrowed a pair of crutches from someone so I could figure out what size to cut my fabric. I didn’t measure anything, so I can’t really give you step-by-step instructions. I laid the crutches on the fabric, marked the fabric at the widest point on each side, and added two inches, an extra inch of room for the foam and an extra inch for a half inch seam allowance. I eyeballed what looked like a good amount of space for the arm parts to come down. I then just folded the fabric in half with the right sides on the inside and sewed up the side seams and hemmed the bottom opening before attaching a couple of lengths of ribbon to tie them on.

I wrapped the arm pads and the hand pads in foam and secured it with everyone’s favorite all-purpose solution: duct tape. To made the hand pad covers, I popped the hand piece out of the crutches and laid it on the fabric, using the same crude measuring method.

Covers finished, I thought to myself, Why stop there? I also decided I needed to have a bag attached to my crutches to carry around small items, like a thin paperback novel or a water bottle. How did I do this? Yep, you guessed it: I eyeballed it again. I laid an average-looking book out on some fabric for the fronts and back, and cut the sides and bottoms the same length, but made them about an inch wide. I attached ribbons to hold it onto the crutches.

Voila! There you have fanciful crutches that are sure to gain you compliments everywhere you go!

6 Weeks Post-op

Wow, I’m sorry I haven’t updated anything on here for such a long time. Things have been pretty busy between Christmas and now. Things have been going smoothly, so I guess I haven’t really had a reason to update y’all. I had my cast removed on schedule. I was incredibly happy to be rid of it. Everyone says casts are itchy, but I didn’t have much of an issue with it, despite how dry and flaky my skin was when they cut it off. The biggest issue was how uncomfortable it was when I left my leg down too long because it would swell up and make the cast feel tight. By the end of the four weeks I had it on, I was ready to be done. I also got these horrible muscle spasms that would seize up my whole foot. My toes would spread out and it was just super uncomfortable. That usually happened at night while I was trying to fall asleep, so some nights it kept me awake half the night. I didn’t realize how exhausted I felt until my first night without that cast on and I could sleep like normal. I was placed in a walking boot after the cast came off, but I still can’t put any weight on it. I’m loving using the boot now because I am allowed to do simple range of motion exercises three times a day and I can shower and sleep without it. Things are so much easier. It’s such a luxury to shower without having to make sure my leg doesn’t get wet. I can get done showering in half the time now. I’m getting tired of using crutches, but I have definitely improved the muscle tone and balance in my left leg after all these weeks, so I guess it’s not all bad. It’ll make the difference between the left and right leg that much more noticeable because I have a lot of atrophy in my right leg, but there’s nothing much I can do about that.

6 weeks after surgery!

My incisions look so much better than they did a month ago. I don’t get grossed out just looking at them anymore. The picture above is three days after I had my cast removed, so I had a chance to shave and get the worst of the flaky skin off my leg. I bought some Palmer’s cocoa butter and vitamin E lotion to help soothe the new, raw skin, especially on the bottom of my foot and the incision on the back of my heel. I think the upper incision will fade pretty quickly, but the other one seems like it will take more time. I don’t really care what it looks like, though, as long as it’s healed properly. Having the scars is a reminder of where I started and how far I had to come in order to try to meet my goals for the future. I will wear them with pride.